
How to Put Ribbon on a Christmas Tree: The Easy Tuck Method
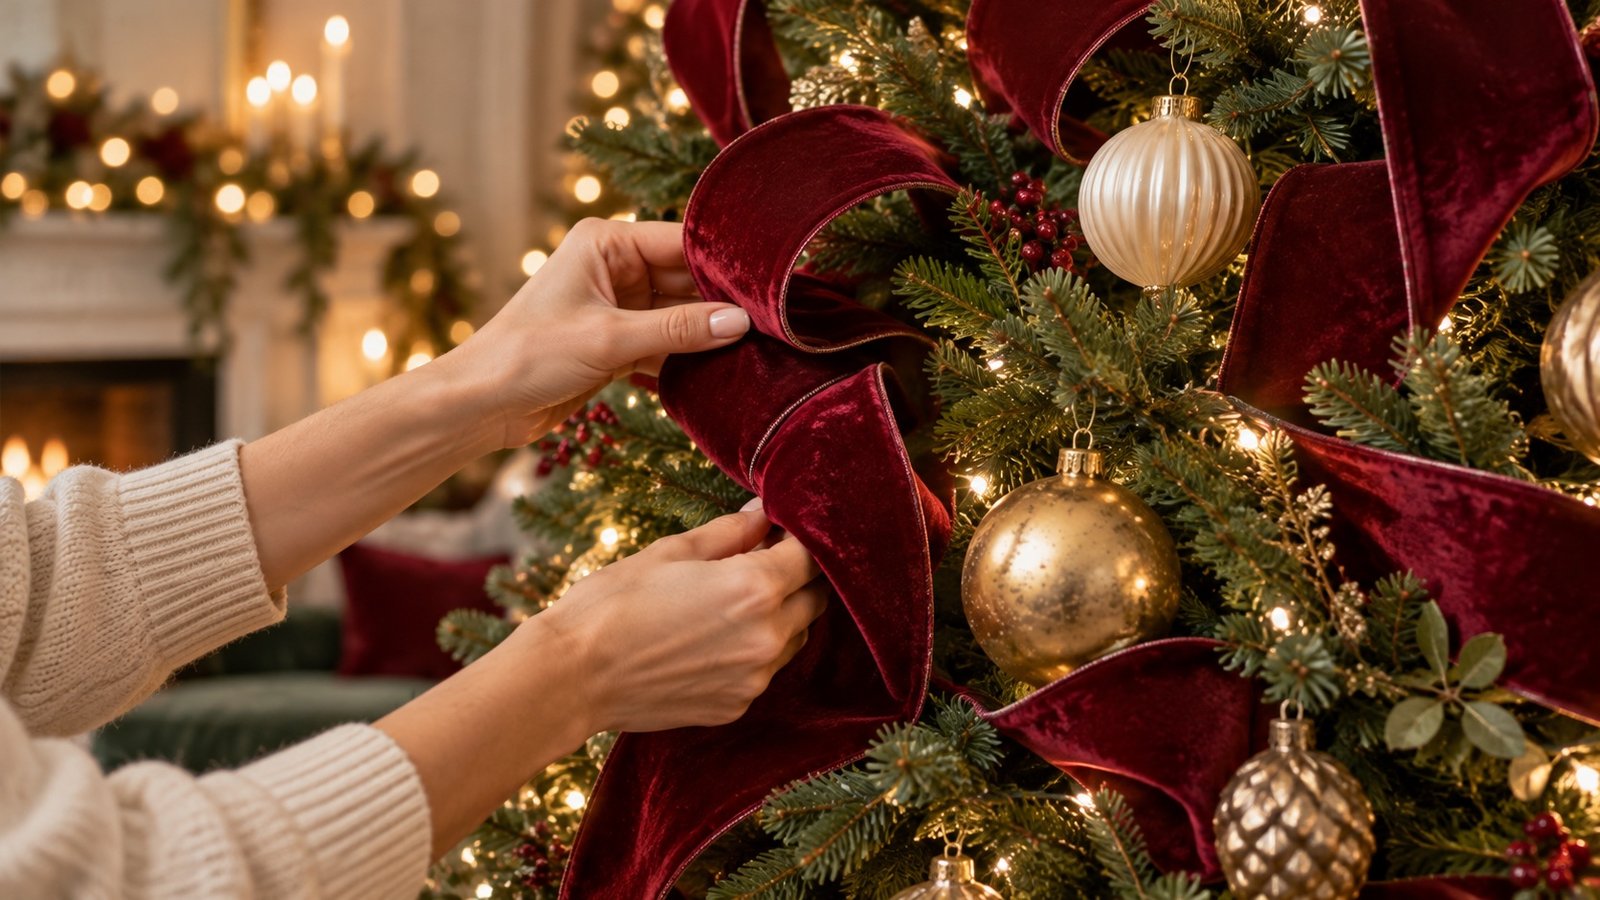
Ribbon looks best when it moves through the branches instead of sitting on the surface like a belt. The easiest approach is to cut wired ribbon into manageable lengths, anchor each piece inside the tree, form one or two generous loops, and tuck the end back into the greenery. Work from the top down, then add ornaments after the ribbon is balanced.
What ribbon works best on a Christmas tree?
Wired ribbon is the most forgiving choice. The wired edges hold loops, curves, and tails in place, and you can reshape them after the ornaments are added. Velvet gives a deep, soft finish. Satin reflects more light. Mesh creates volume without adding much visual weight.
For a full 6- to 8-foot tree, ribbon around 2.5 to 4 inches wide is easy to see from across the room. Narrow ribbon suits a pencil tree, small tree, individual bows, or a layered accent over a wider base ribbon.
How much ribbon do you need?
Quantity depends on the technique and how much of the greenery you want to cover. For a balanced tuck method, plan on roughly 6 to 10 feet of ribbon for each foot of tree height. A 7-foot tree may use 42 to 70 feet in total. A dense designer look or multiple ribbon styles will need more.
| Tree height | Light ribbon accent | Fuller ribbon treatment |
|---|---|---|
| 4 ft | 24 to 30 ft | 36 to 40 ft |
| 6 ft | 36 to 45 ft | 54 to 60 ft |
| 7 ft | 42 to 55 ft | 63 to 70 ft |
| 8 ft | 48 to 60 ft | 72 to 80 ft |
| 9 ft | 54 to 70 ft | 81 to 90 ft |
Buy a little extra if you want a large topper bow, matching wreath, or coordinated gift wrap. Ribbon color can vary slightly between production runs, so completing one project from the same batch gives the most consistent result.
How to put ribbon on a Christmas tree with the tuck method
- Assemble and shape the tree. Open every branch so the ribbon has natural places to sit.
- Add and test the lights. Ribbon should go on after the lights but before fragile ornaments.
- Cut the first pieces. Start with lengths around 3 to 4 feet. Short pieces are easier to control than one long roll.
- Anchor the top end. Push the end several inches into the greenery. Twist a small branch around the wired edge or use a discreet green tie.
- Form a loose loop. Bring the ribbon out toward the branch tips, then curve it back into the tree. Let the wired edges hold a soft billow.
- Tuck and repeat. Anchor the ribbon again, form another loop, and secure the final end inside the branches.
- Stagger the next piece. Begin slightly lower and to one side. Avoid making perfectly straight rows.
- Step back often. Check the tree from the main view in the room and reshape any section that looks flat or crowded.
The loops do not need to match exactly. Small changes in depth and direction make the finished tree feel natural. Keep enough open greenery for ornaments to hang without competing with the ribbon.
Vertical ribbon for a taller look
Vertical runs draw the eye upward and suit tall, slim, or pencil trees. Cut several pieces long enough to travel from near the top to the lower branches. Secure each piece at the top, then create alternating tucks and loose curves as it falls.
Space the runs around the tree before finishing any one section. On a tree viewed mainly from the front, concentrate the ribbon where it can be seen. On a tree in the middle of a room, distribute the runs all the way around.
Horizontal ribbon without the wrapped look
A horizontal path can feel traditional, but a tight spiral often compresses the branches. Use short sections rather than circling the tree with one continuous band. Tuck each section deep inside, bring it forward in a generous curve, then return it to the greenery. Leave uneven intervals between sections so the ribbon appears woven through the tree.
Layering two ribbons
Layering works best when the ribbons differ in width, texture, or pattern but share a color from the rest of the room. Place a narrower ribbon over a wide velvet or mesh base, then treat the two as one piece while forming loops.
Another option is to alternate separate pieces. Burgundy velvet can provide the main rhythm while ivory or patterned ribbon appears in smaller accents. Limit the palette so the ornaments and lights still have space to contribute.
When to add bows, ornaments, and picks
Once the ribbon is even, hang the largest ornaments first. Place them near the deeper tucks to make the transition into the branches feel intentional. Add medium ornaments across the open greenery, then use small ornaments and decorative picks to correct gaps.
If the tree needs a topper, repeat one of the ribbon colors there. A bow can sit at the top, slightly below a star, or at several points around the tree. Wired tails can fall into the existing ribbon path so the topper feels connected to the whole design.
Common ribbon mistakes
- Adding ribbon before shaping the tree. Flat branches leave nowhere for loops to sit.
- Pulling the ribbon tight. Tension removes the volume and can bend branch tips.
- Using one long piece. A continuous roll is harder to control and frustrating to correct.
- Keeping every loop identical. Perfect repetition can make the tree look rigid.
- Covering every branch. Ribbon needs quiet areas of greenery around it.
- Adding ornaments first. The ribbon can knock them loose and limit where you can anchor each tuck.
A simple burgundy velvet plan
For a rich traditional tree, start with warm white lights and wide burgundy wired velvet ribbon. Create vertical, slightly diagonal runs with deep tucks. Add ivory ornaments for contrast, brass or gold pieces for warmth, and a few natural woven accents near the base. Repeat the ribbon on a nearby wreath or one special gift to carry the color through the room.
Explore Fred’s ribbons and bows, shop Christmas decorations, or choose a Christmas tree with enough branch depth for the look you have in mind.